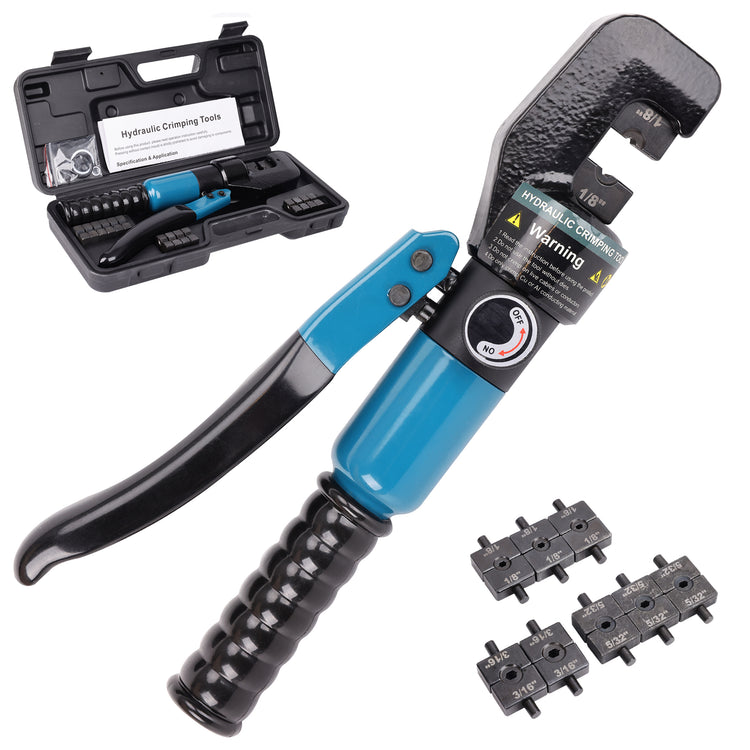
How to Use Hydraulic Crimper Tool?
Hydraulic crimper tools are essential equipment for connecting, crimping, and securing wires, cables, or pipes. Proper usage of hydraulic crimping tools not only enhances work efficiency but also ensures the safety and reliability of connections. Here are some guidelines and steps on how to use hydraulic crimping tools.
Step 1: Preparation
Before using hydraulic crimping tools, ensure that you've completed the following preparations:
-
Inspect Equipment: Make sure the hydraulic crimper tool is in good condition, with no damaged or loose parts.
-
Select the Appropriate Die: Choose the correct crimping die based on the size and type of the components you are connecting.
-
Safety Measures: Wear appropriate personal protective equipment, such as gloves and safety goggles, to ensure a safe working environment.
Step 2: Prepare the Connection Components
Before using hydraulic crimper tools, ensure the components you are connecting are prepared:
-
Clean Connection Components: Ensure that the ends of wires, cables, or pipes are clean, free from dirt or any obstructive substances.
-
Strip Insulation: If necessary, use a wire stripper to remove the insulation from wires or cables, exposing an adequate length of the conductor.
Step 3: Set Up the Hydraulic Crimper Tool
-
Install the Die: Following the manufacturer's guidelines, install the correct-sized crimping die onto the hydraulic crimper tool.
-
Adjust Pressure: Adjust the hydraulic crimper tool's pressure setting according to the requirements of the components. Ensure that the set pressure aligns with the manufacturer's recommendations.
Step 4: Perform the Crimp
-
Place the Connection Components: Insert the prepared connection components into the die of the hydraulic crimper tool, ensuring proper alignment.
-
Perform the Crimping: Operate the hydraulic crimper tool to apply sufficient pressure, completing the crimping process. Monitor the pressure indicator on the tool to ensure it stays within the appropriate range.
Step 5: Inspect Connection Quality
After completing the crimp, perform a quality check on the connection:
-
Visual Inspection: Examine the appearance of the crimped area, ensuring there are no deformities, cracks, or other visible defects.
-
Pull Test: Depending on requirements, conduct a pull test to ensure the strength and integrity of the connection. Use suitable testing equipment for this purpose.
-
Record and Mark: Record detailed information for each connection, and if possible, mark the connection for traceability and maintenance purposes.
The use of hydraulic crimping tools requires caution and professional skills. Operate in strict accordance with the manufacturer's operation manual and safety guidelines. If unfamiliar with the operation of hydraulic crimping tools, consider seeking professional training or consulting with experienced individuals.
