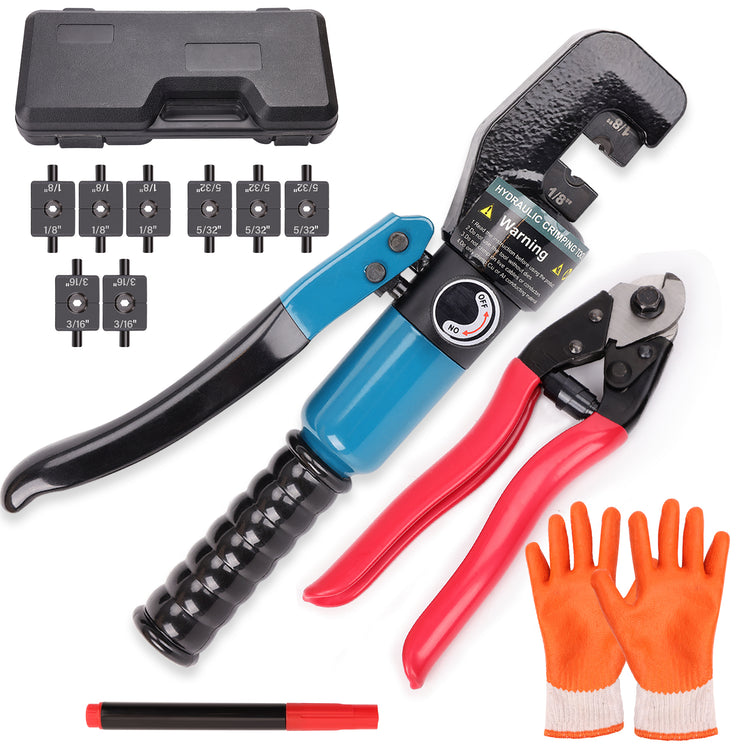
Installing cable railings involves precision, attention to detail, and the use of specific tools to ensure a secure and aesthetically pleasing outcome. Whether you're a DIY enthusiast or a professional installer, having the right tools at your disposal is crucial. In this article, we'll explore the essential tools commonly used in the installation of cable railings.
1. Drill:
A reliable power drill is a fundamental tool for creating holes in posts and other structural elements. It's used to prepare the anchor points for the cables and ensures a secure attachment to the framework.

2. Wrenches:
Various wrenches, including open-end wrenches and socket wrenches, are necessary for tightening nuts and bolts during the installation process. They are essential for securing cable fittings, tensioners, and other components.

3. Cable Cutter:
A cable cutter is specifically designed to cut stainless steel cables cleanly and efficiently. This tool ensures precise cable lengths, contributing to the overall stability and appearance of the railing system.

4. Swaging Tool:
Swaging tools are used to crimp sleeves or fittings onto the cable ends. This process, known as swaging or crimping, is essential for creating strong and secure cable terminations. It ensures that the cables are properly affixed to the fittings, enhancing the railing's structural integrity.

5. Tensioning Tool:
Tensioning tools are crucial for achieving the desired tension in the cables. They allow installers to adjust the tension level, ensuring that the cables are taut and uniformly tensioned throughout the railing system.

6. Level:
A level is indispensable for ensuring that the posts and the railing as a whole are installed perfectly horizontal or vertical. Achieving the correct alignment is essential for both safety and visual appeal.
7. Measuring Tape:
Accurate measurements are key in cable railing installations. A measuring tape helps ensure precise cable lengths, proper spacing between posts, and accurate placement of other components.
8. Marker/Pencil:
Marking tools, such as markers or pencils, are used to indicate drilling points, cable termination locations, and other critical measurements on the posts and framework.
9. Hammer:
A hammer is handy for various tasks, including gently tapping cable fittings into place and securing components. It's a versatile tool that aids in the overall assembly process.
10. Safety Equipment:
Safety should always be a priority. Personal protective equipment (PPE) such as gloves and safety glasses are essential to protect against any potential hazards during the installation process.
Ensuring Precision and Safety
The successful installation of cable railings relies heavily on the use of the right tools. From drilling holes to tensioning cables, each tool plays a vital role in achieving precision, stability, and a visually appealing result. Whether you're embarking on a DIY project or overseeing a professional installation, having a well-equipped toolbox ensures that the cable railing system not only meets safety standards but also stands out as a refined and durable architectural feature.

